
Creating an Application 3 min read
Step-by-step walkthrough for creating a new Application in the Trust Framework Directory.
From + New Application to a registered Client ID
Navigate to '+ New Application'
- Navigate to your organisation.
- Open the Applications section.
- Click + New Application.
Select the application roles
- Select the roles for your application. Roles define what the application is permitted to do. You can assign multiple roles, but only roles that are already assigned to your organisation are available for selection.
Choose roles carefully — they can't be changed laterThe roles you select here determine what this application is permitted to do. Once the application has been registered with an LFI, editing its roles in the Trust Framework has no effect. If the roles later need to change, you must disable the existing application, create a new one with the correct roles, and register it again. Make sure the selected roles (
BSIP,BDSP,ISP) match the app's intended functionality before continuing.Provide the Client Details
- Client Name — enter a clear, human-readable name that identifies this application (e.g.
My TPP – Production). This name may be visible to users during consent flows. - Software Version — enter the version of your software (e.g.
1.0.0). Use a consistent versioning scheme so you can distinguish between releases in the directory. - Logo — upload a clear, recognisable logo. This image is shown to users on the redirect screen when returning from an LFI, so it should accurately represent the application to a User.
- Federation — we recommend setting Federation to Enabled and Federation Entity Management Type to Managed. This allows the Trust Framework to automatically publish and maintain your application's federation metadata, so LFIs can discover and validate your client without manual configuration.
- Client Name — enter a clear, human-readable name that identifies this application (e.g.
Provide the Redirect URI
- Enter the Redirect URI — the HTTPS endpoint(s) in your application that the LFI will redirect the user back to after authentication or authorisation. The
redirect_urisent in the PAR request must exactly match one of the values registered here.
NoteYou can register multiple redirect URIs if your application requires them (e.g. separate URIs for different environments). See Redirect URIs for full guidance.
- Enter the Redirect URI — the HTTPS endpoint(s) in your application that the LFI will redirect the user back to after authentication or authorisation. The
Add Webhook URIs (optional)
If your application will receive event notifications via webhooks (e.g. consent or payment status updates), enter one or more API Webhook URIs. These work in the same way as redirect URIs — multiple values are allowed, and the
subscription.Webhook.Urlin each consent must exactly match one of the values registered here. If you are not using webhooks, leave this field blank. See Webhooks for full guidance.Finish creating the application
- Click through to Create and register the application.
The UUID assigned when the application is created
Once your application is created, the Trust Framework assigns it a Client ID — a UUID that permanently identifies this application. You will use this value as client_id, iss, and sub in every JWT you sign, including Client Assertions and Request JWTs. Keep a note of it.
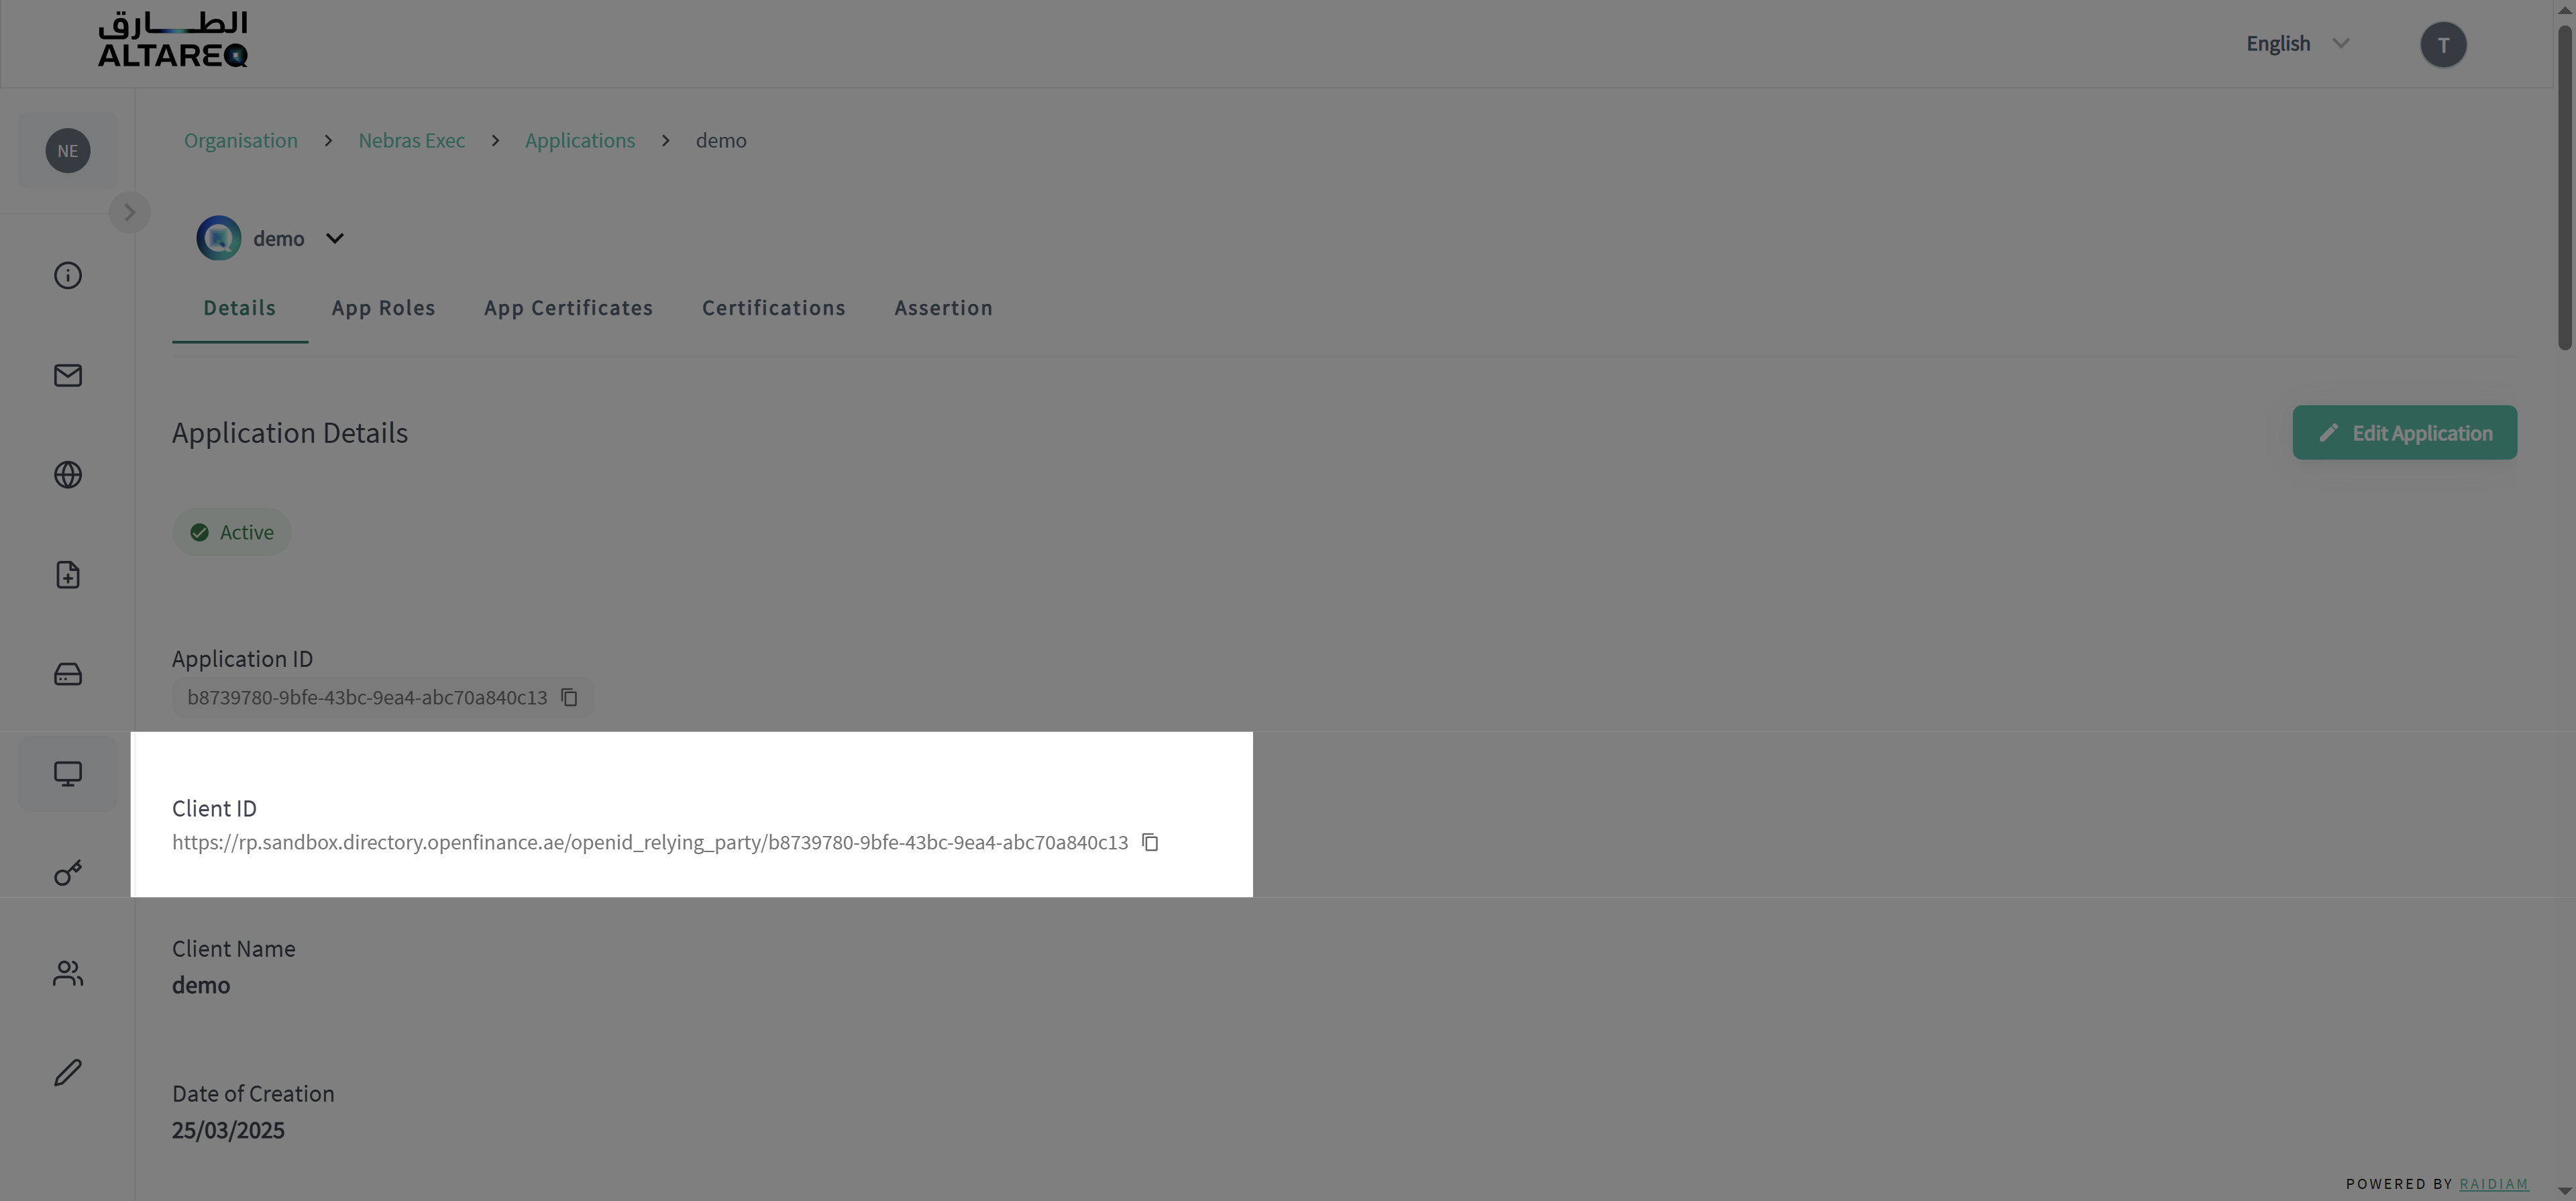
Your Client ID is always visible on the application detail page in the Trust Framework Directory. If you need to retrieve it again, navigate to your Organisation → Applications → select the application.